Ever wondered how you take all those #Stravaart runs and cycles and create a beautiful printed map? Got a GPX file and want to know how to print it out. Just want to print a Stravaart route map to have it hanging on your wall rather than in the cloud. Worry no more we can help. We have been online for a number of years helping customers print running art from Strava and similar.
Create a Strava Print in 4 simple steps.
Choose the route you wish to print.
Choose the easy way or the hard way.
Follow the quick & easy method, sit back and relax.
Decide you’ve got what it takes to take on the slightly more difficult way.
How to Print a Stava Map
4 Steps to create a Strava print
-

Step 1. Choose the route you wish to print
No matter if you have recorded your run on Strava, MapMyRun, Garmin or any other popular fitness app. They will all have an option to export your run
-

Step 2. Choose the Easy or Hard Way
Such as with many things in life, there is an easy way to do this and a hard way. The easy way requires little or no ability on a computer and takes less than 5 minutes, and the results are incredible. The hard way requires more time and effort and maybe a few attempts to perfect it.
-

Step 3. The Easy Way
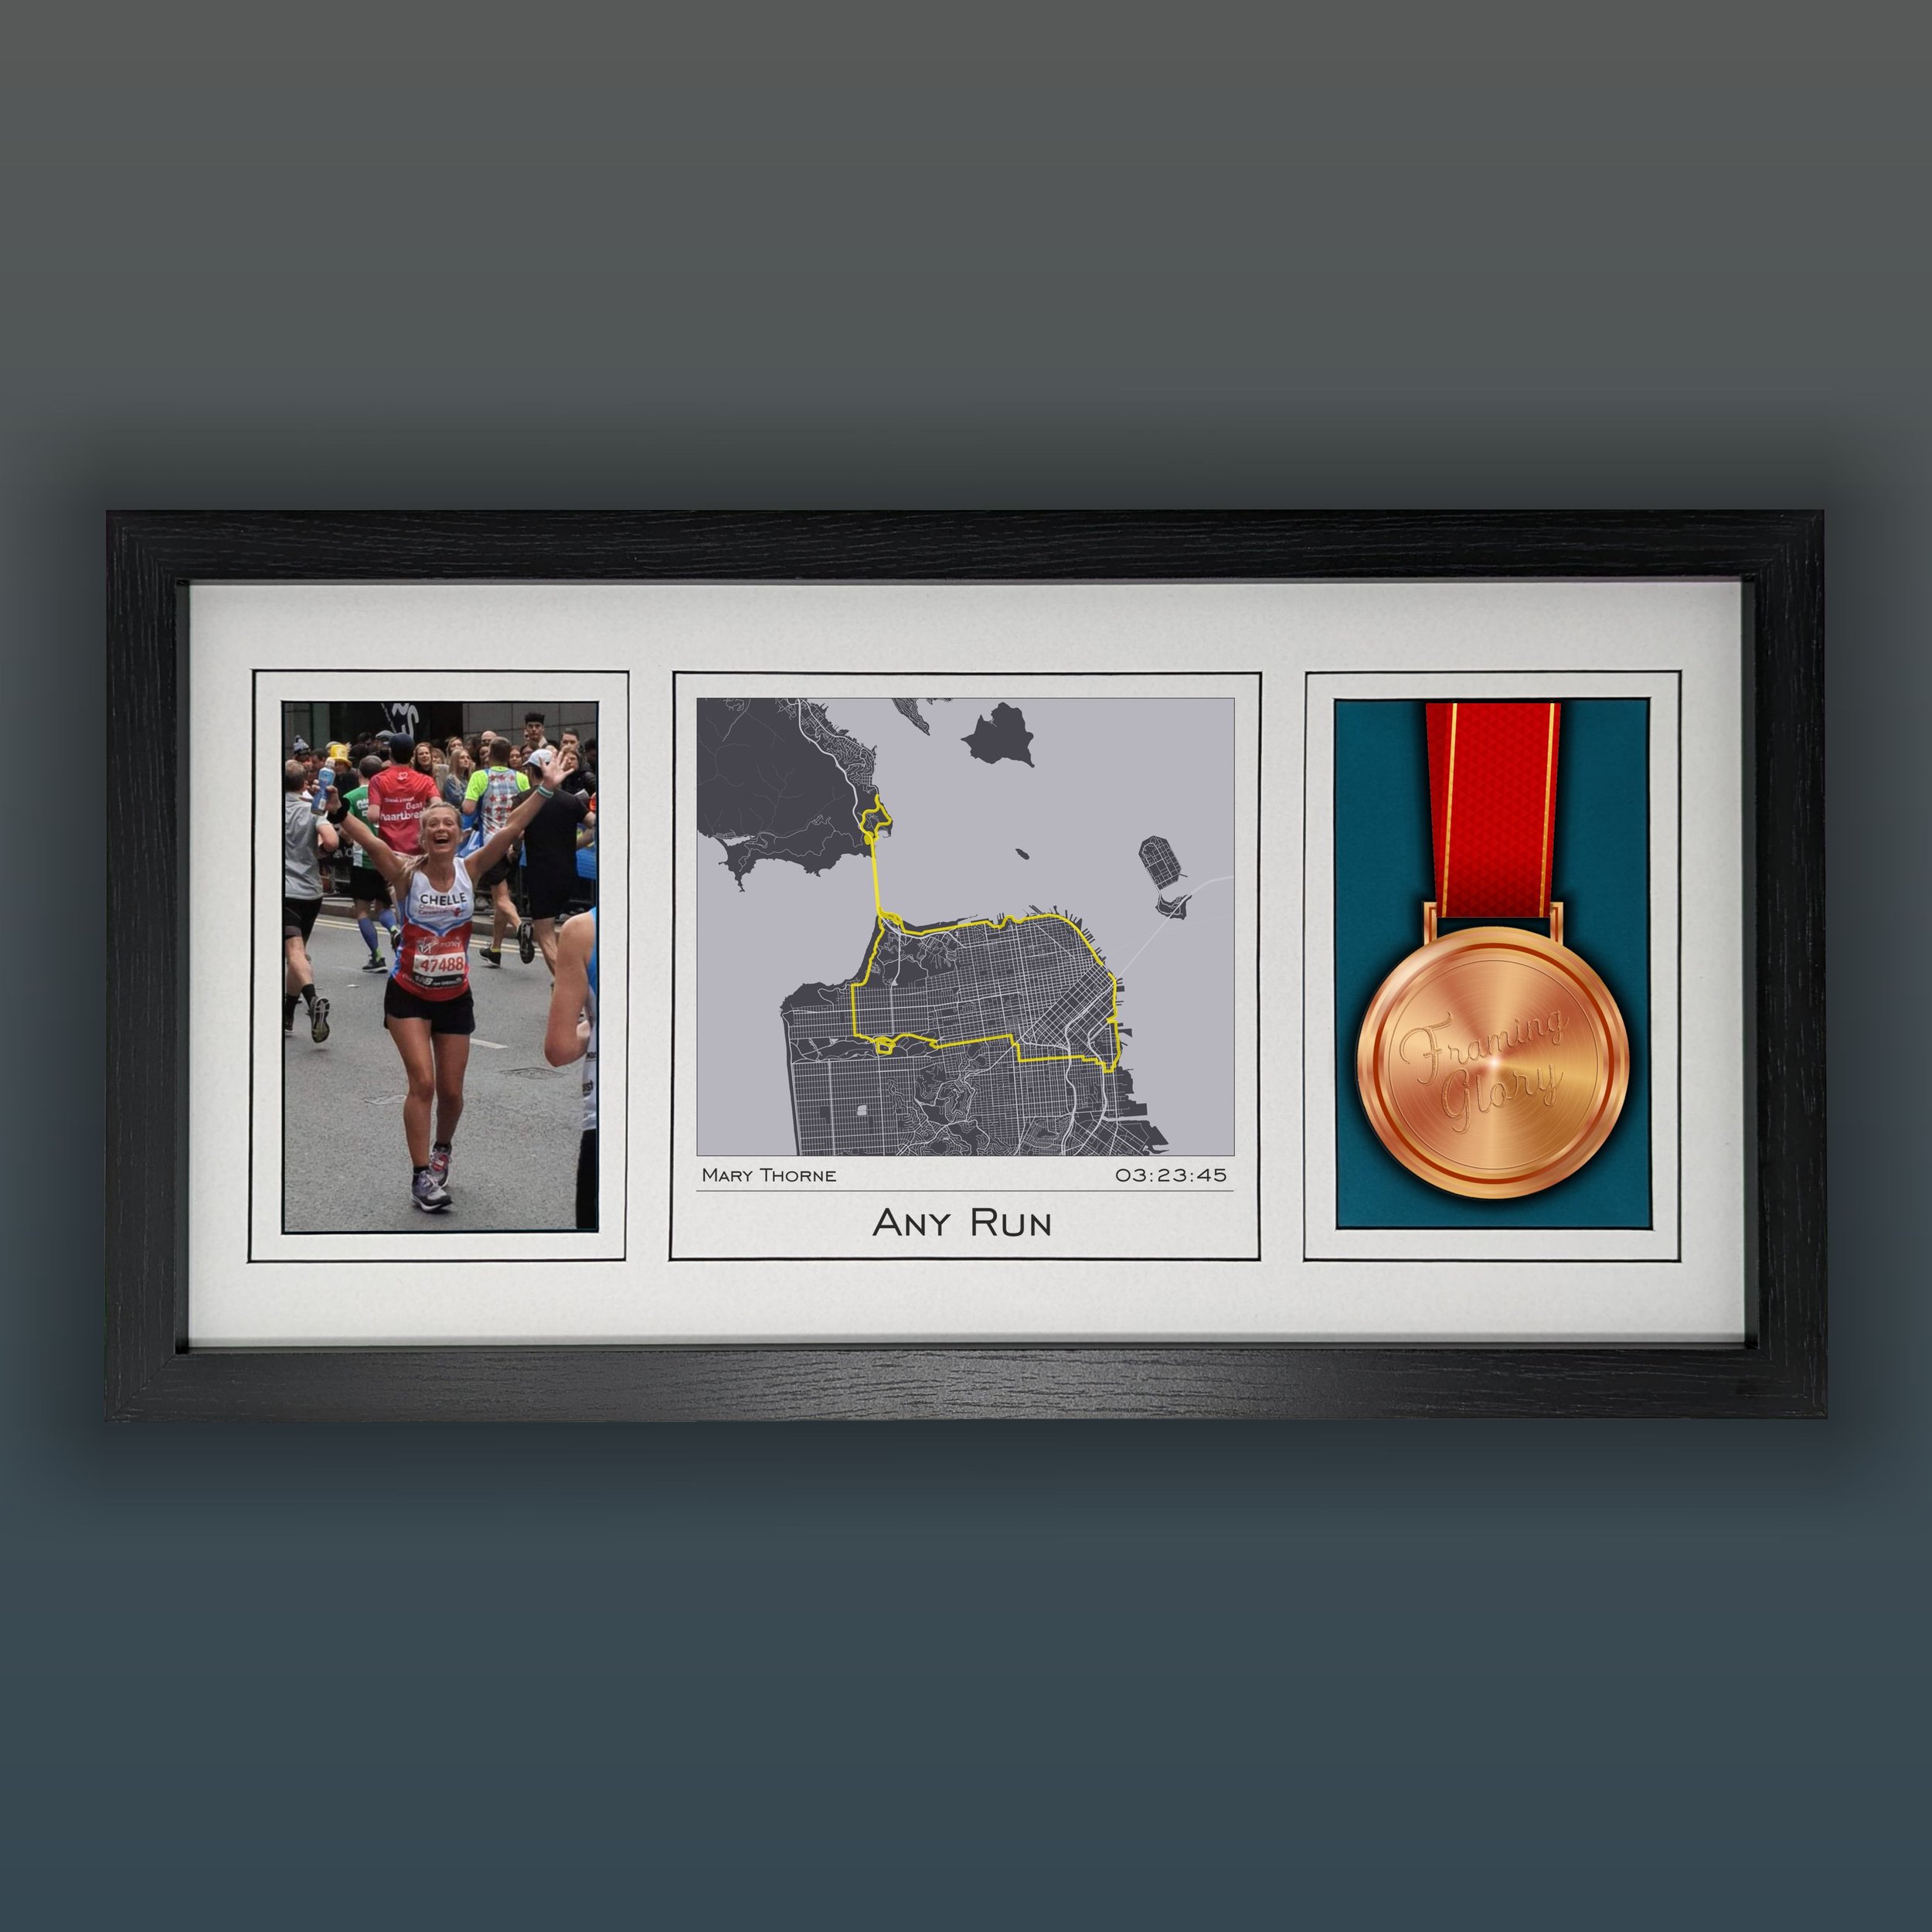
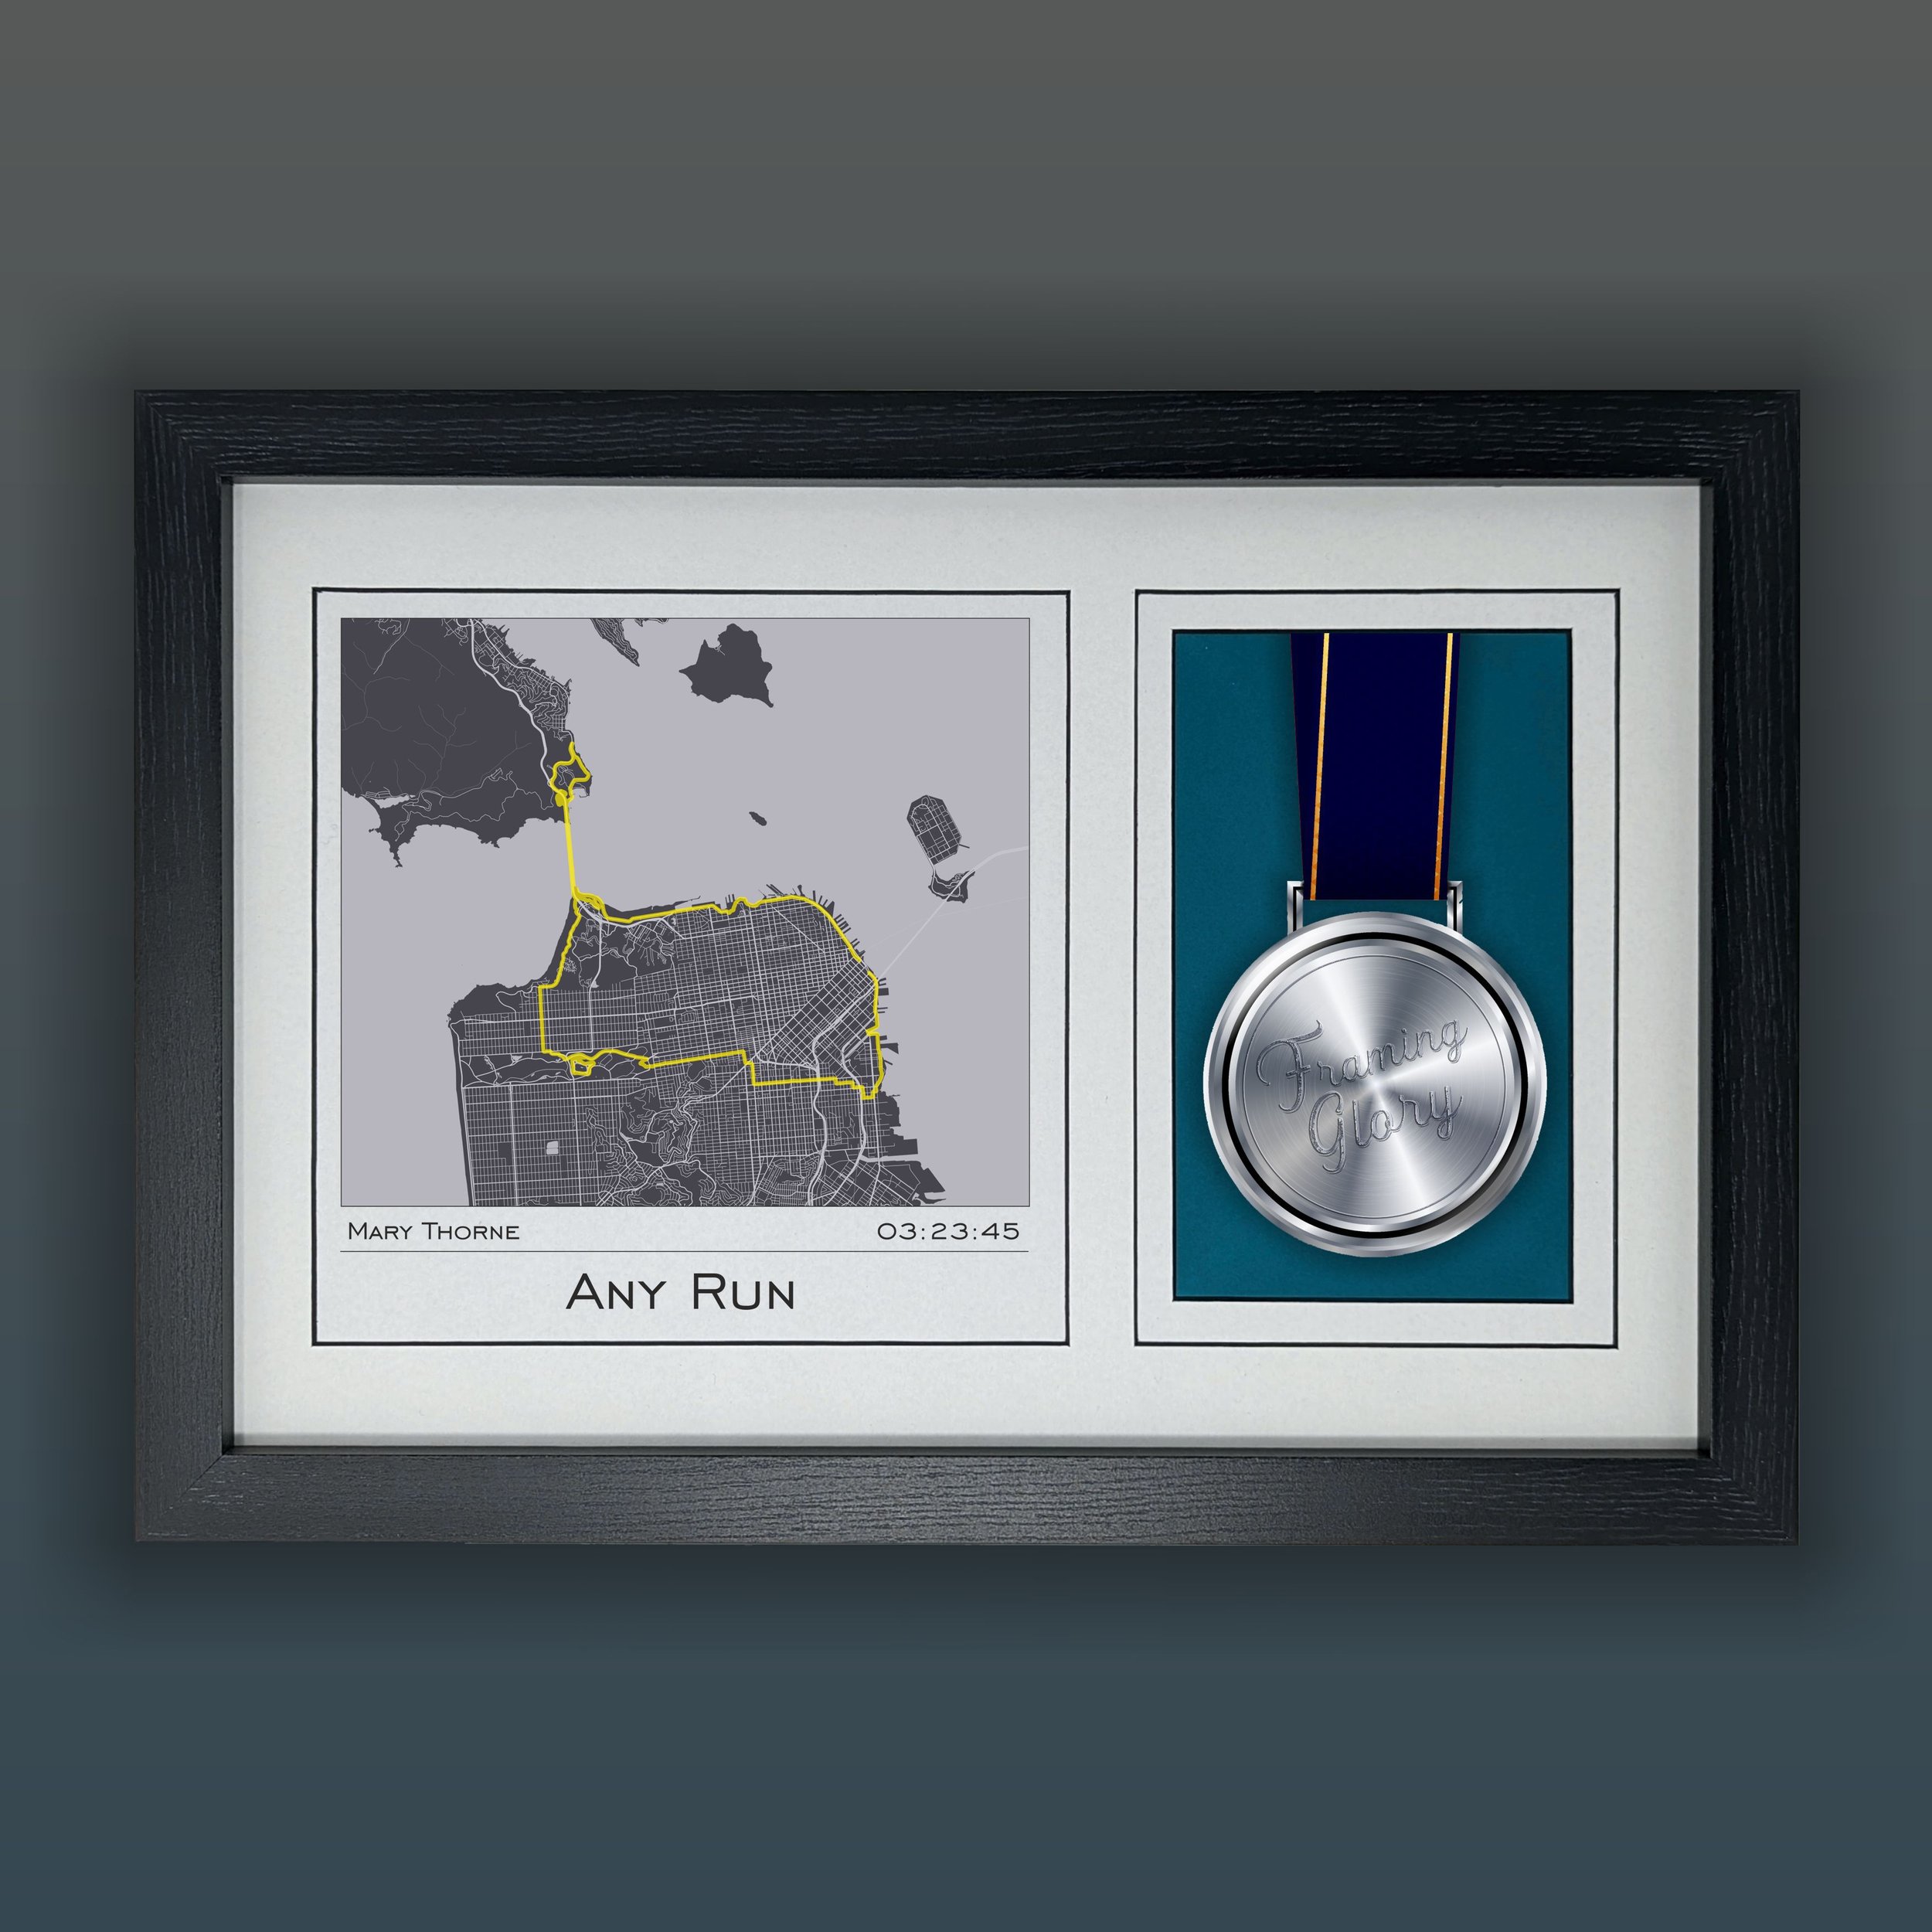
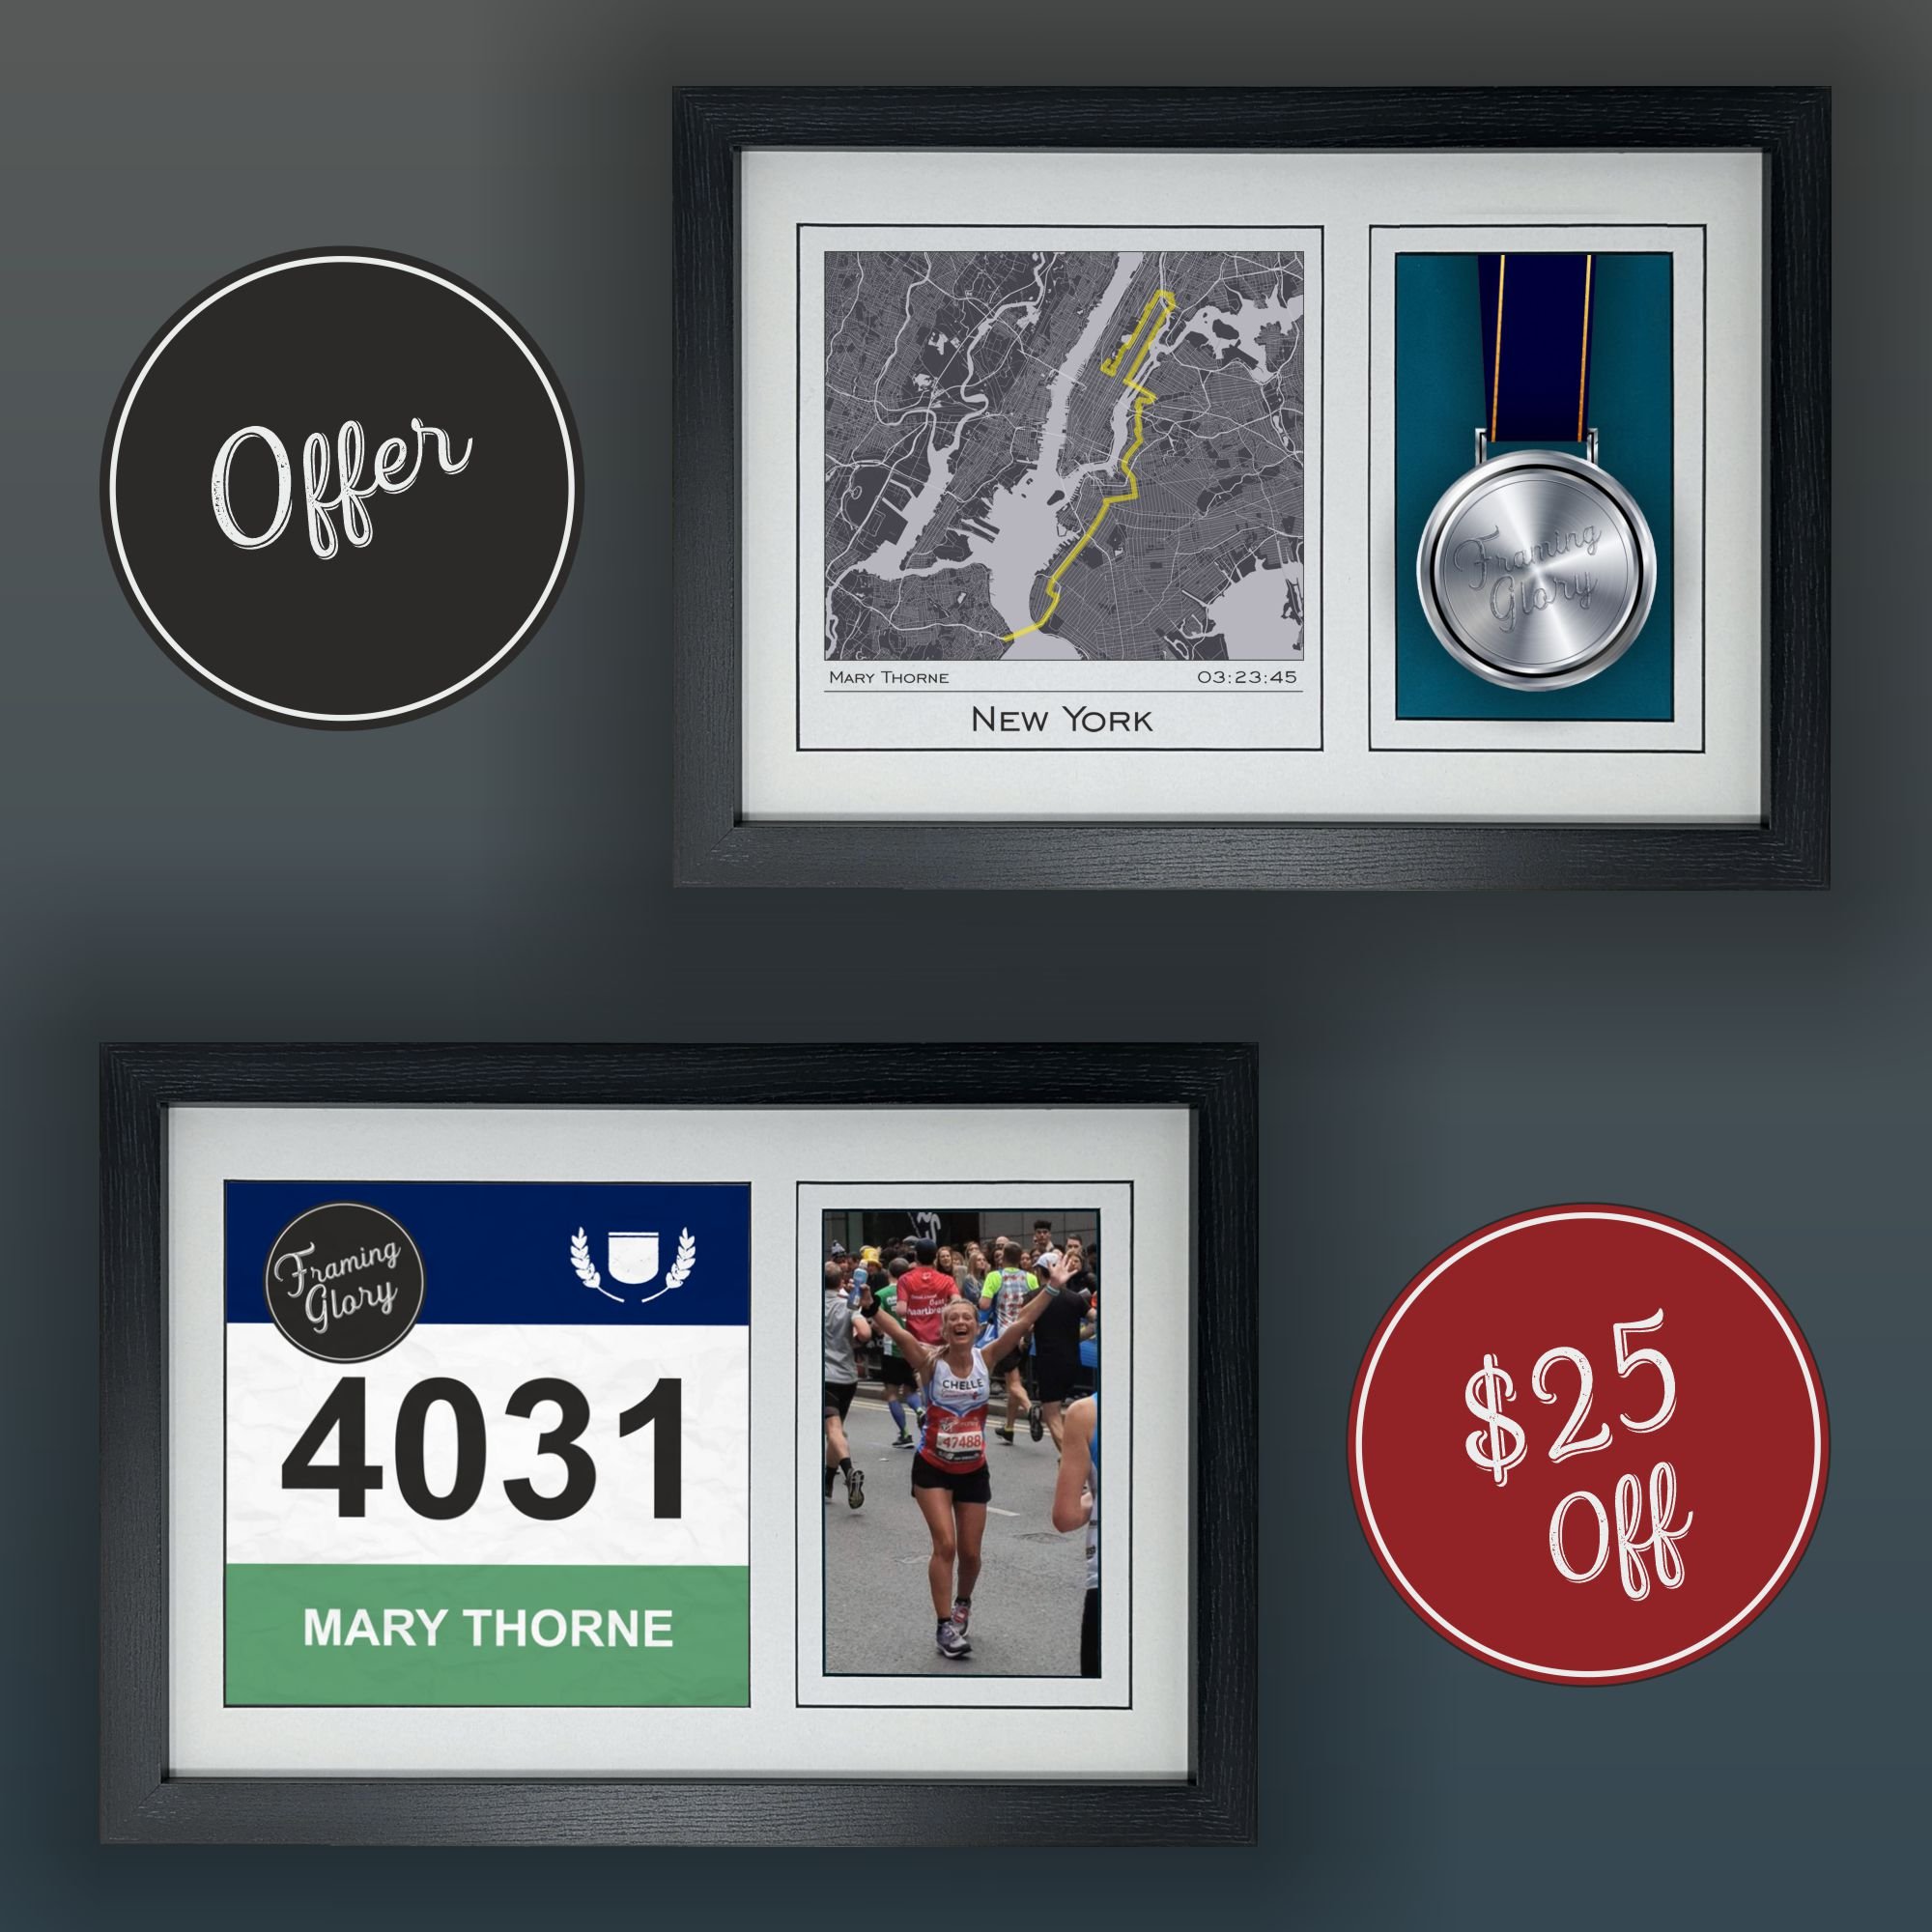
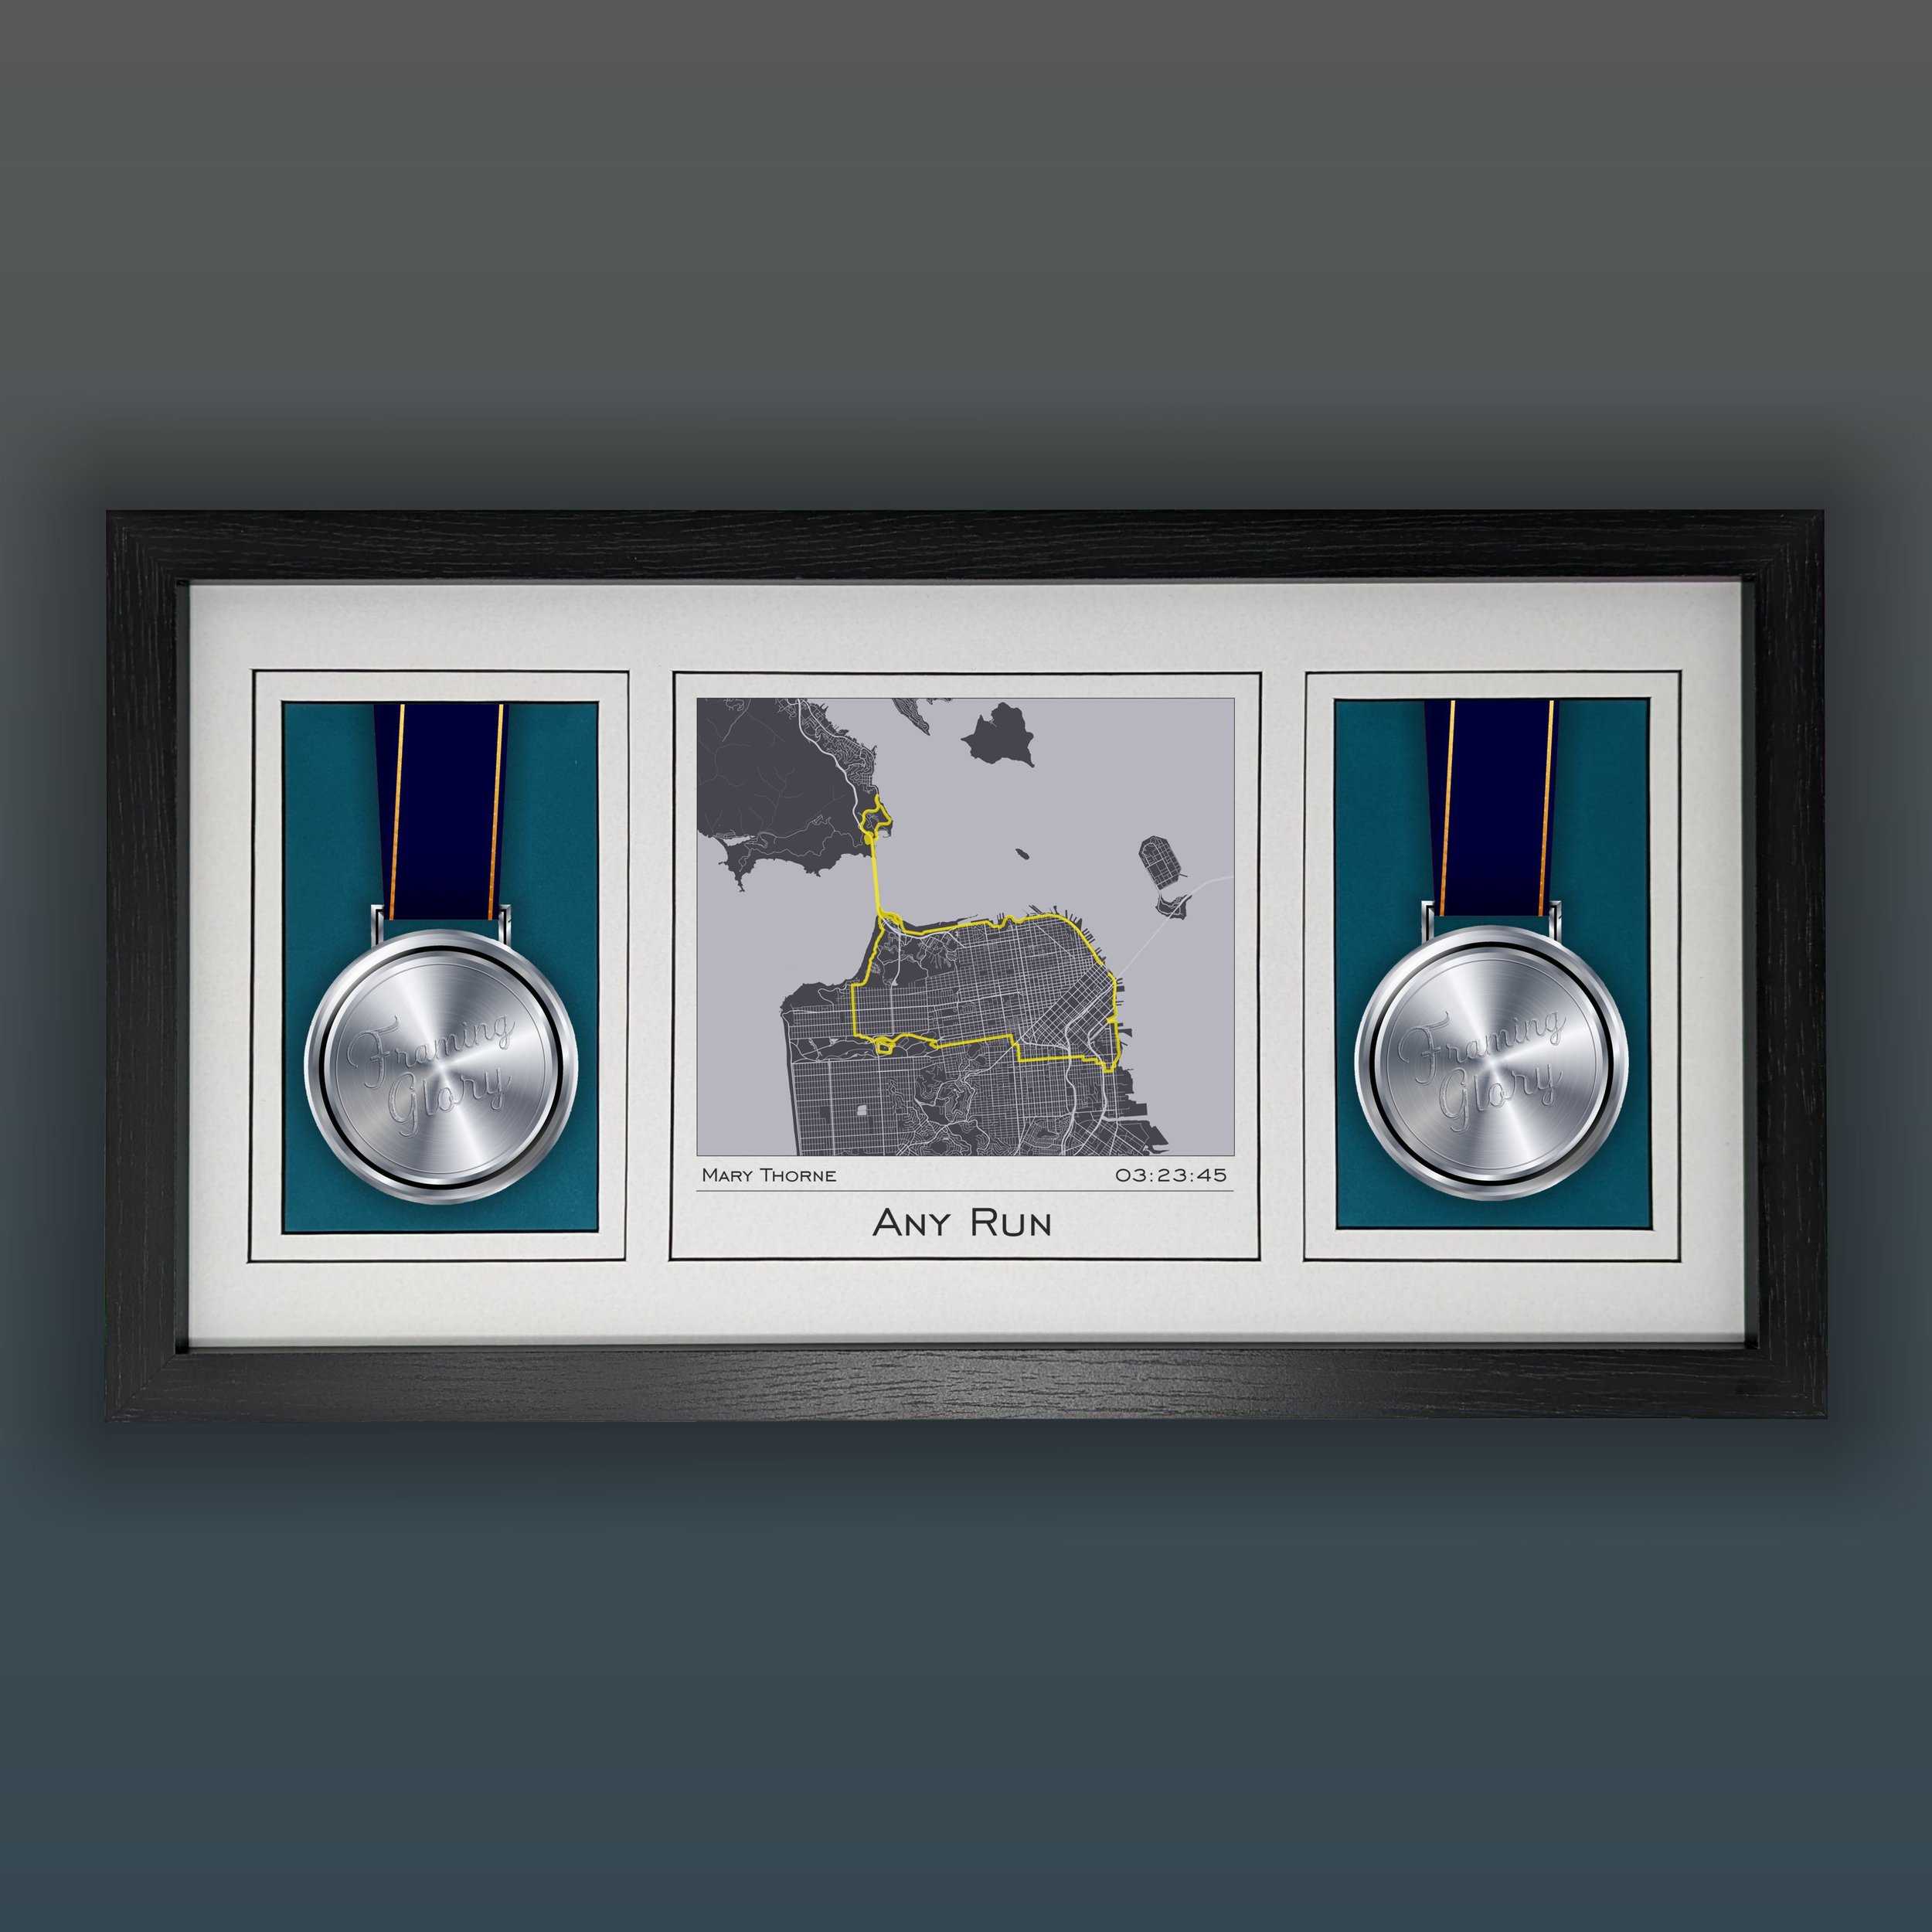
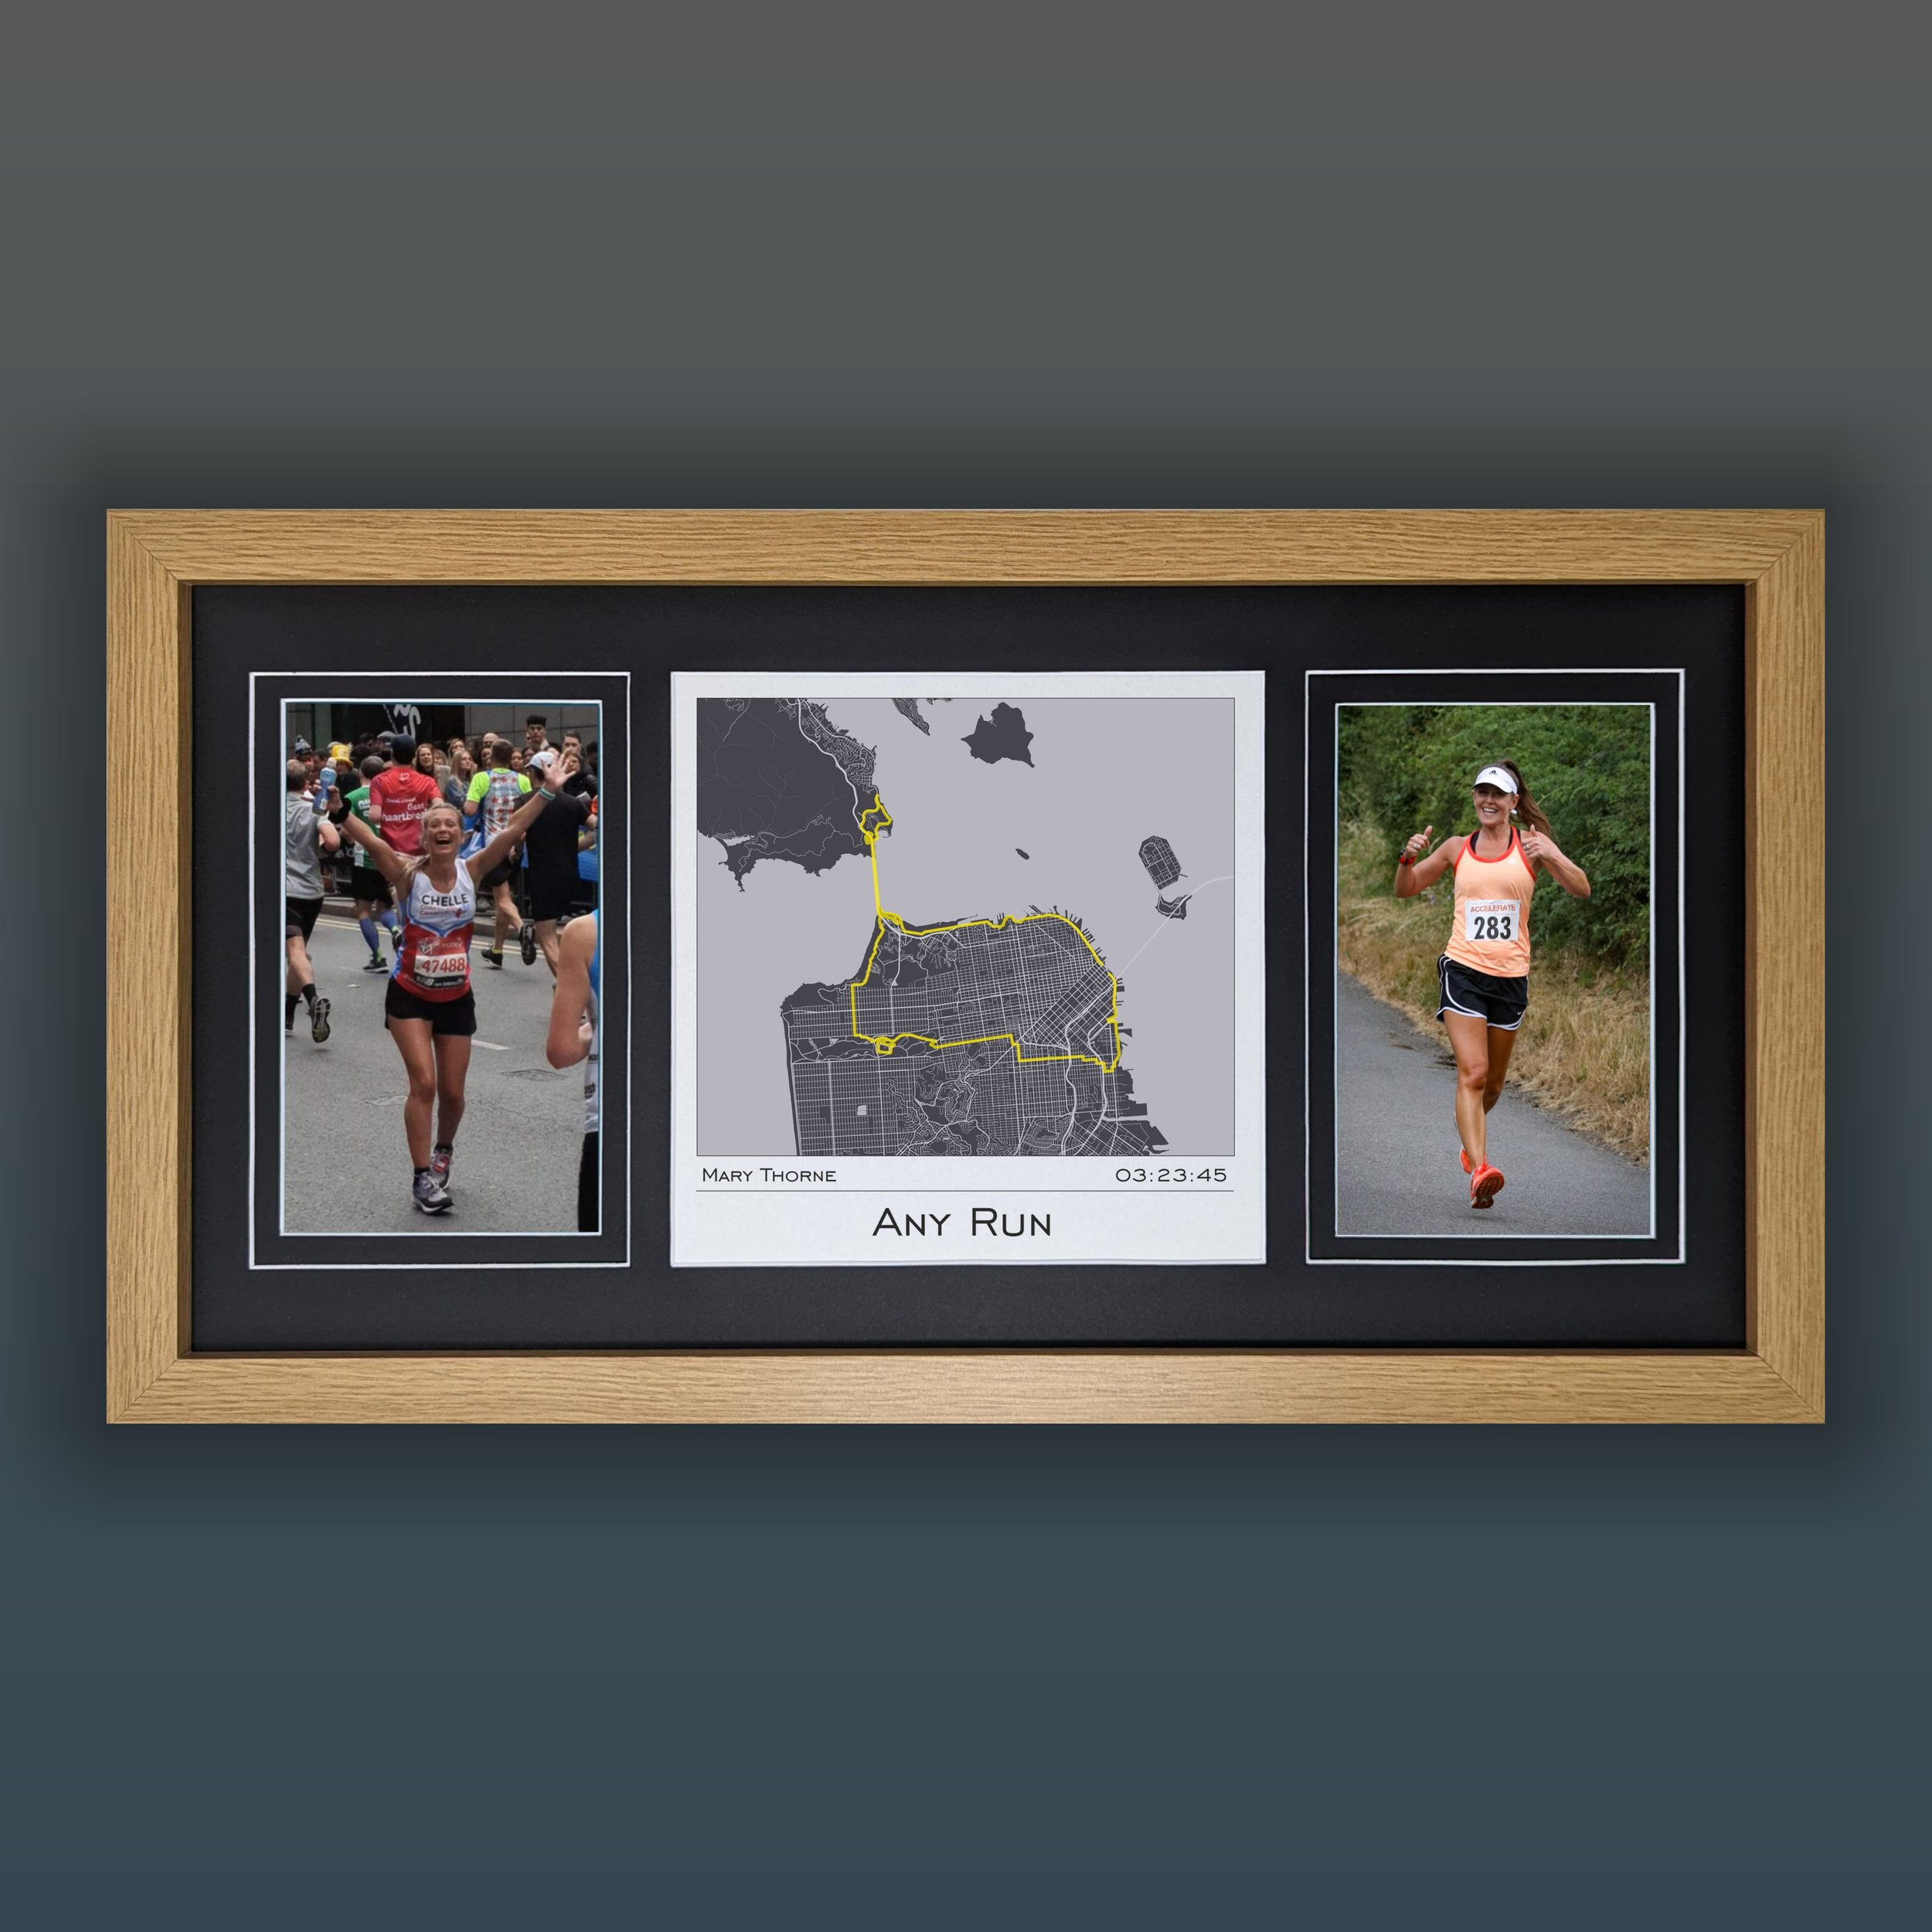
What’s the easiest way, well let us create your Strava print. Not only have we been doing it for years (we’ve gotten pretty good at it). You have the luxury of doing pretty much nothing apart from selecting size, colors, framing and the text you want to appear.
-
Step 4. The Hard Way
If you are less keen on parting with your money, here are the things you will need to get a really great result.
Requirements
1. A decent colour printer (We’ve got an industry leading Epson photographic printer)2. Some photographic grade paper (We use Espon semi-gloss photographic grade paper)
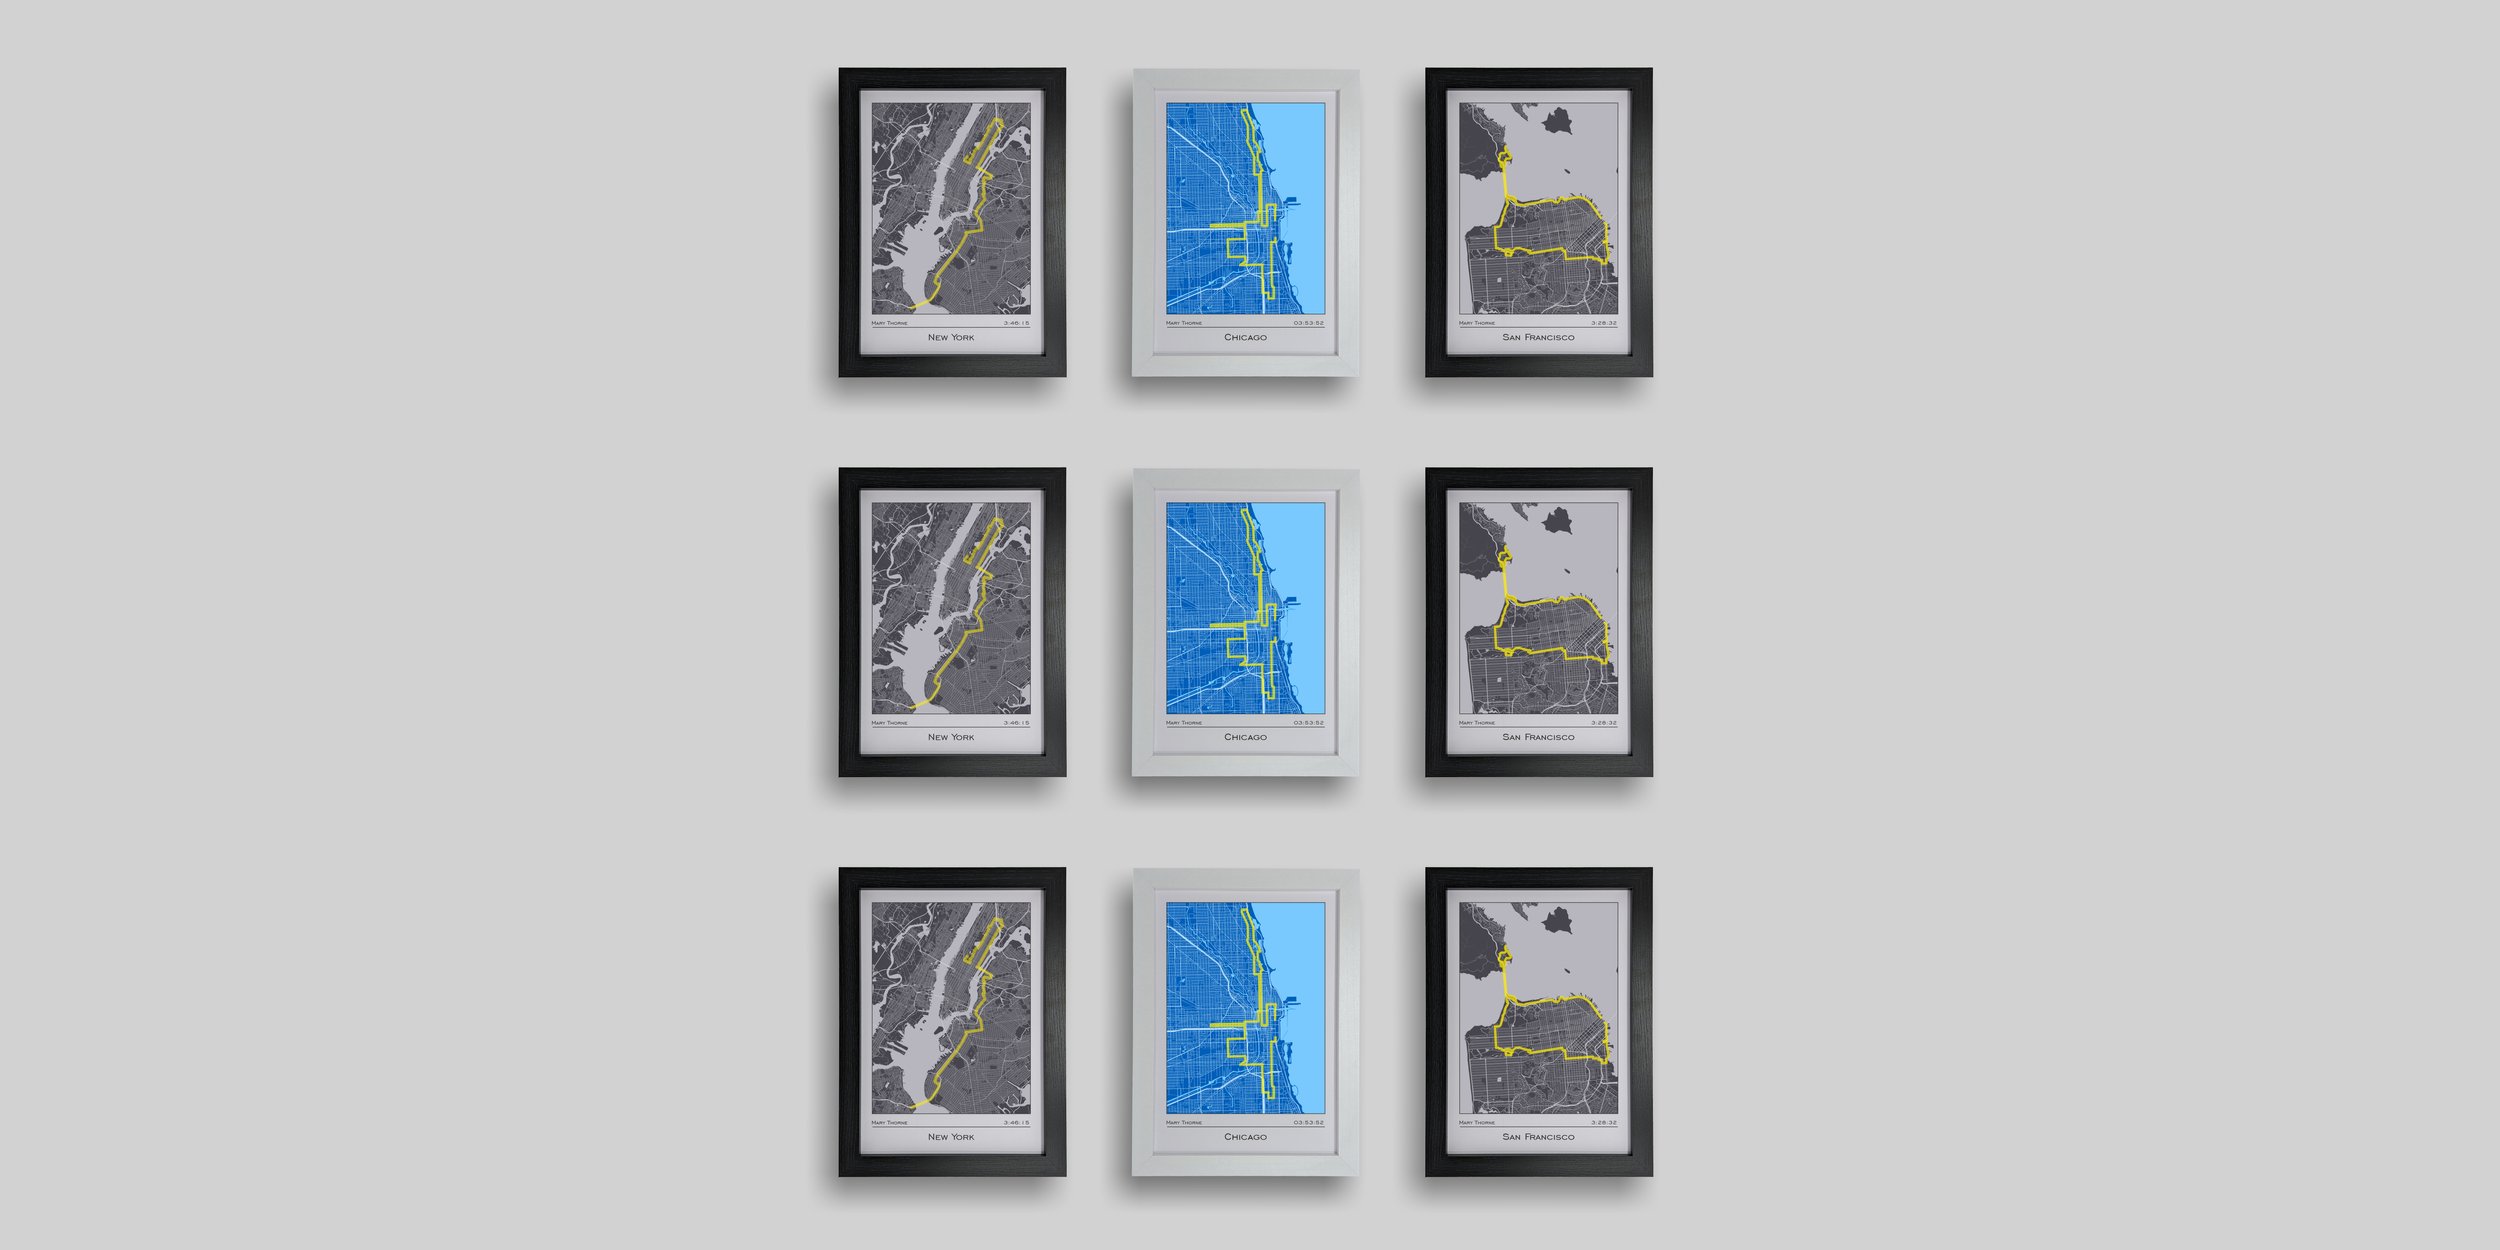
3. A frame to put it in (We offer black, white &oak grain wood frames)
4. A laptop or desktop (It would be really fiddly on a tablet or phone)
5. Some image editing software (We can recommend Corel or Adobe products from $79 - $799)
6. Some mapping software (If you want a really sleek look to your map)
7. A lot of time if you haven’t done this before (maybe 3+ hours)
So you’re willing to invest in all this rather than pay us to do it still? Ok, so what’s next well grab a screenshot of the route, trace the route in the imaging software we recommend using a b-spline line to generate the smoothest result (usually between 50 - 150 points). Next up configuring and coloring your map, this will depend on the software you are using whether you want place names, which types of roads you want to show, parks etc. Define the colours and point sizes for all of those. Now create a new layer of your route and overlay the images, add the fonts you wish to use for the text define the spacing and alignment. Then you are good to print.
Bit of a hassle, isn’t it? Wouldn’t you rather be out running or cycling? Come on let us do it for you.